Monday, April 29, 2013

Crisis Avoided or Why You Should Always Read Directions.


So coming back from weeks of slaving away in front of both the sewing machine at work and the sewing machine at home( My boss affectionately refers to me as "an old sew-and-sew.") I am finding time to blog. FINALLY. I swear, I'm gonna get better at this.

And with my brand new Singer 9960 Quantum Machine, I am continuing with the Lady Rarity Dress.

LOOK AT HOW AWESOME IT IS!
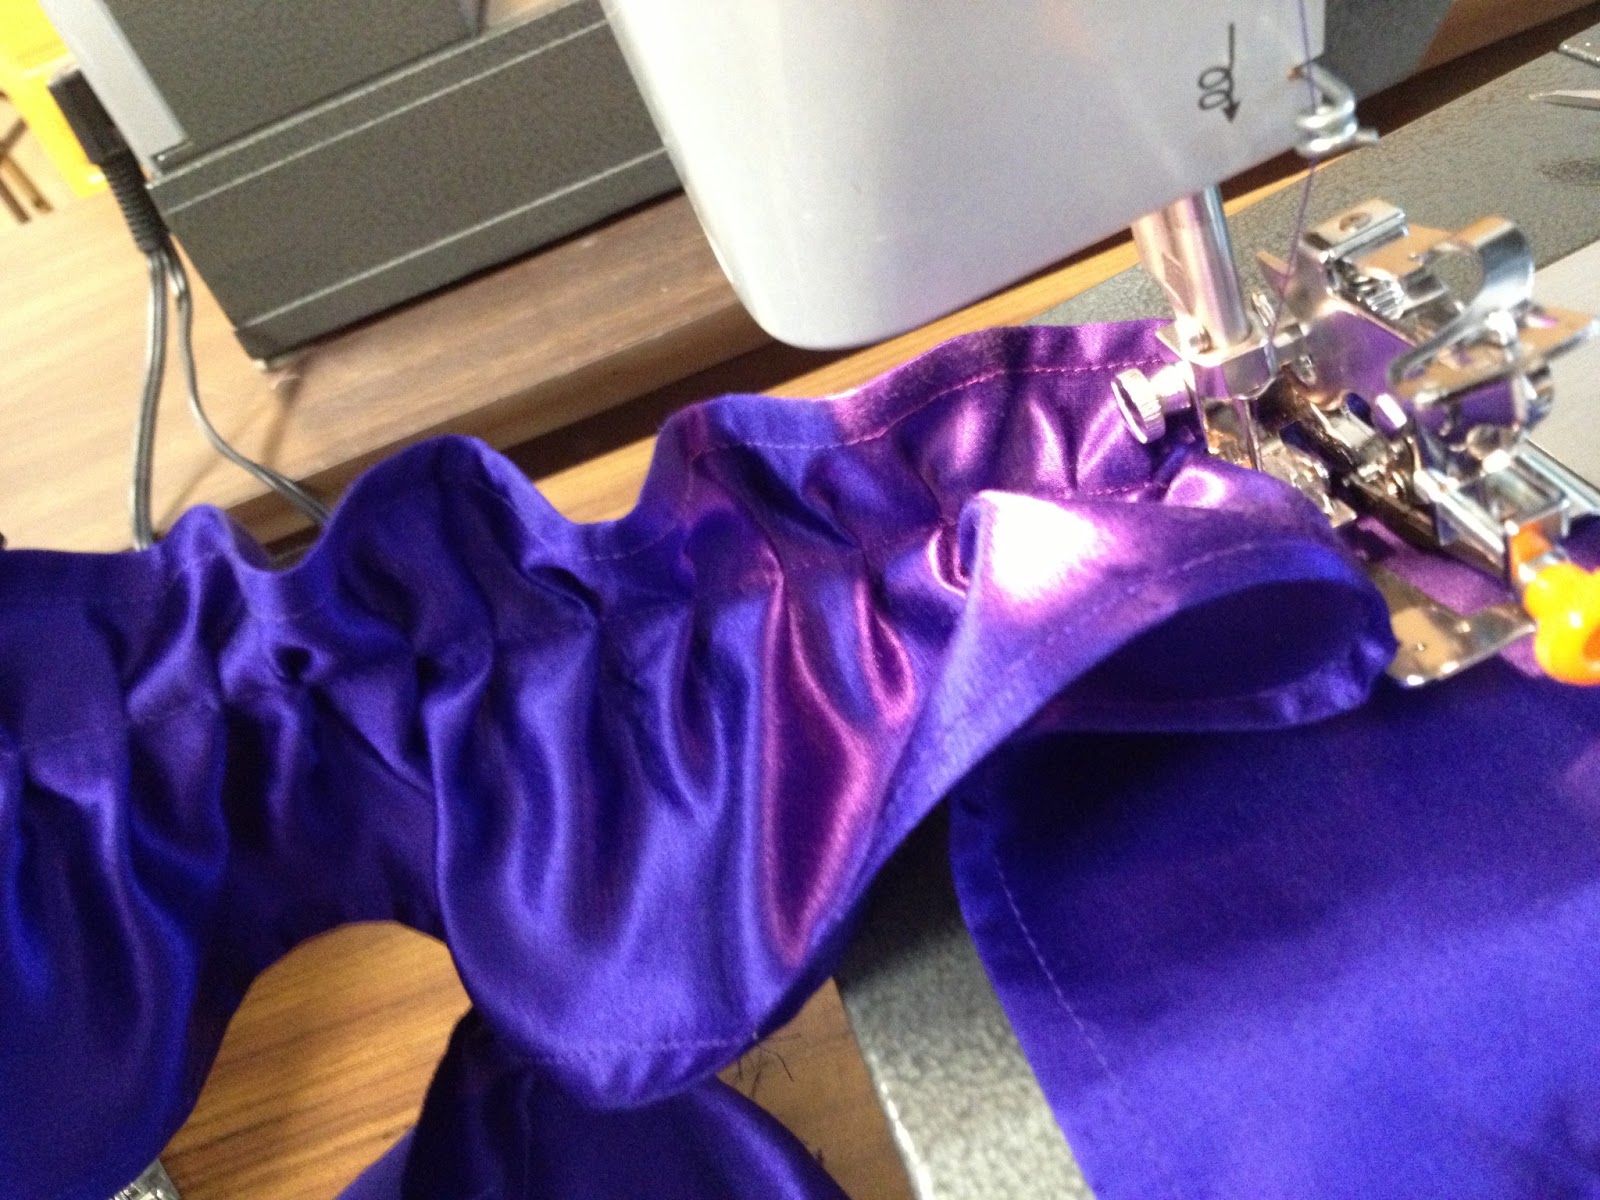
The ruffler foot even works on it! 

The Equine fashionista herself!
I'm using Truly Victorian Patterns 1872 Vest Basque and 1875 Parisian Trained Skirt. In white and royal purple cotton/silk poplin bought from Fabric.com. 

The train and bustle on the on the skirt and the cuffs and collar on the top are in the purple to
'simulate' Rarity's mane and tail. The front apron on the skirt is white as are the sleeves and main body of the bodice. The faux vest at the front will be a light blue silk. I ordered a yard of a few different ones from puresilks.us, so I still don't know which one yet.

An armscye is the armhole- where the
sleeve connects to the bodice.
Now, where is this would-be crisis I lured you here with? I'm not alone in the sewing world when it comes to issues with armscyes. They are either too big, causing unsightly bunching and gathering; or they are too small, preventing you from moving your arms. With the mock up I made of the vest basque, the armscye was so constricting that it was painful to hole my arms out in front of me. At first I thought it was due to me trying it on without my corset and proper undergarments, but even when I was all decked out, my underarm and shoulder suffered.

I reluctantly decided that I needed to manually enlarge the armscye on the pattern. Then, something in the back of my head told me I needed to re-read the directions and I found this:

"Choose Front, Vest, and Collar pattern piece that correlates to your Adjusted Front."
This could have ended very badly.

All I needed to do was a bit of math, and I figured out that the size I needed was two-parts one-size and one-part a-size-larger. The actual bodice turned out perfect!

The moral of this story: READ THE DIRECTIONS ONCE, TWICE, THREE TIMES! It may seem like a waste of time, but your beautiful outfit will thank you!

Here is some more pictures of how the dress is going so far!


Wednesday, April 10, 2013

Doing Things The Hard Way...


      I know the three people who follow this blog have been wondering where I've been. Well, I've been busy....

      A perfect storm of Things-Just-Not-Working have set me back a bit. I am trimming the Lady Rarity dress with purple ruffles at the hems and seams. The ruffles at the hems are to themselves be hemmed on the top and bottom edge and the ruffles at the seams would simply be gathered and sewn in.

      I had planned to use my handy-dandy narrow hem presser foot to do this quickly as I've heard wonderful things about it, but alas, I seem to have ordered the union worker of the bunch.... 
Working it's horror on some poor
unsuspecting scrap fabric...

      And by that I mean: This thing wants to work on ITS OWN terms and if you violate that, it will set out to destroy you and everything you have ever planned to accomplish.


      So, I am forced to hem 1/4" on both long edges by hand...


      All 2+ yards of it...


    Yea, remember when I said I've been busy?


It's at least two yards...
      It took me all weekend and then, when I thought I was finally done with this batch(because I still need to do a whole lot more...) I found that my ruffler foot attachment doesn't want to work on my machine anymore. So, several hours of troubleshooting and broken needles later I decided that I'll give it a try at the machines at school. 


      It worked. Sort of.

      The machine kept sputtering and skipping pleats and I wasn't able to finish at least half of the super long ribbon before class ended.


At the moment, I'll continue to fiddle with it and I'll try it out on one more machine before I quit the ruffler foot and gather the old fashion way; Two long stitches and a whole lot of time.


Have any of your sewing projects been halted, postponed or slowed down by technology conspiring against the seamstress?


Humina, humina- What's this? A Dowager Dame, Lady Monroe Facebook page? I know there's a few people who read this page- I know you're out there! I can see the pageviews! YOU CAN'T HIDE FOREVER!- So why not head on down there and drop us a like and a comment?

Wednesday, March 13, 2013

Corset and Undies.

Okay, Jack, you are gonna sit down a blog, dang-it!

Well, It's March now and I met my deadline of finishing all of my Victorian undergarments by the end of February. Well sort of. All the main construction is done on most of them and really all they need are things like trims or fasteners.

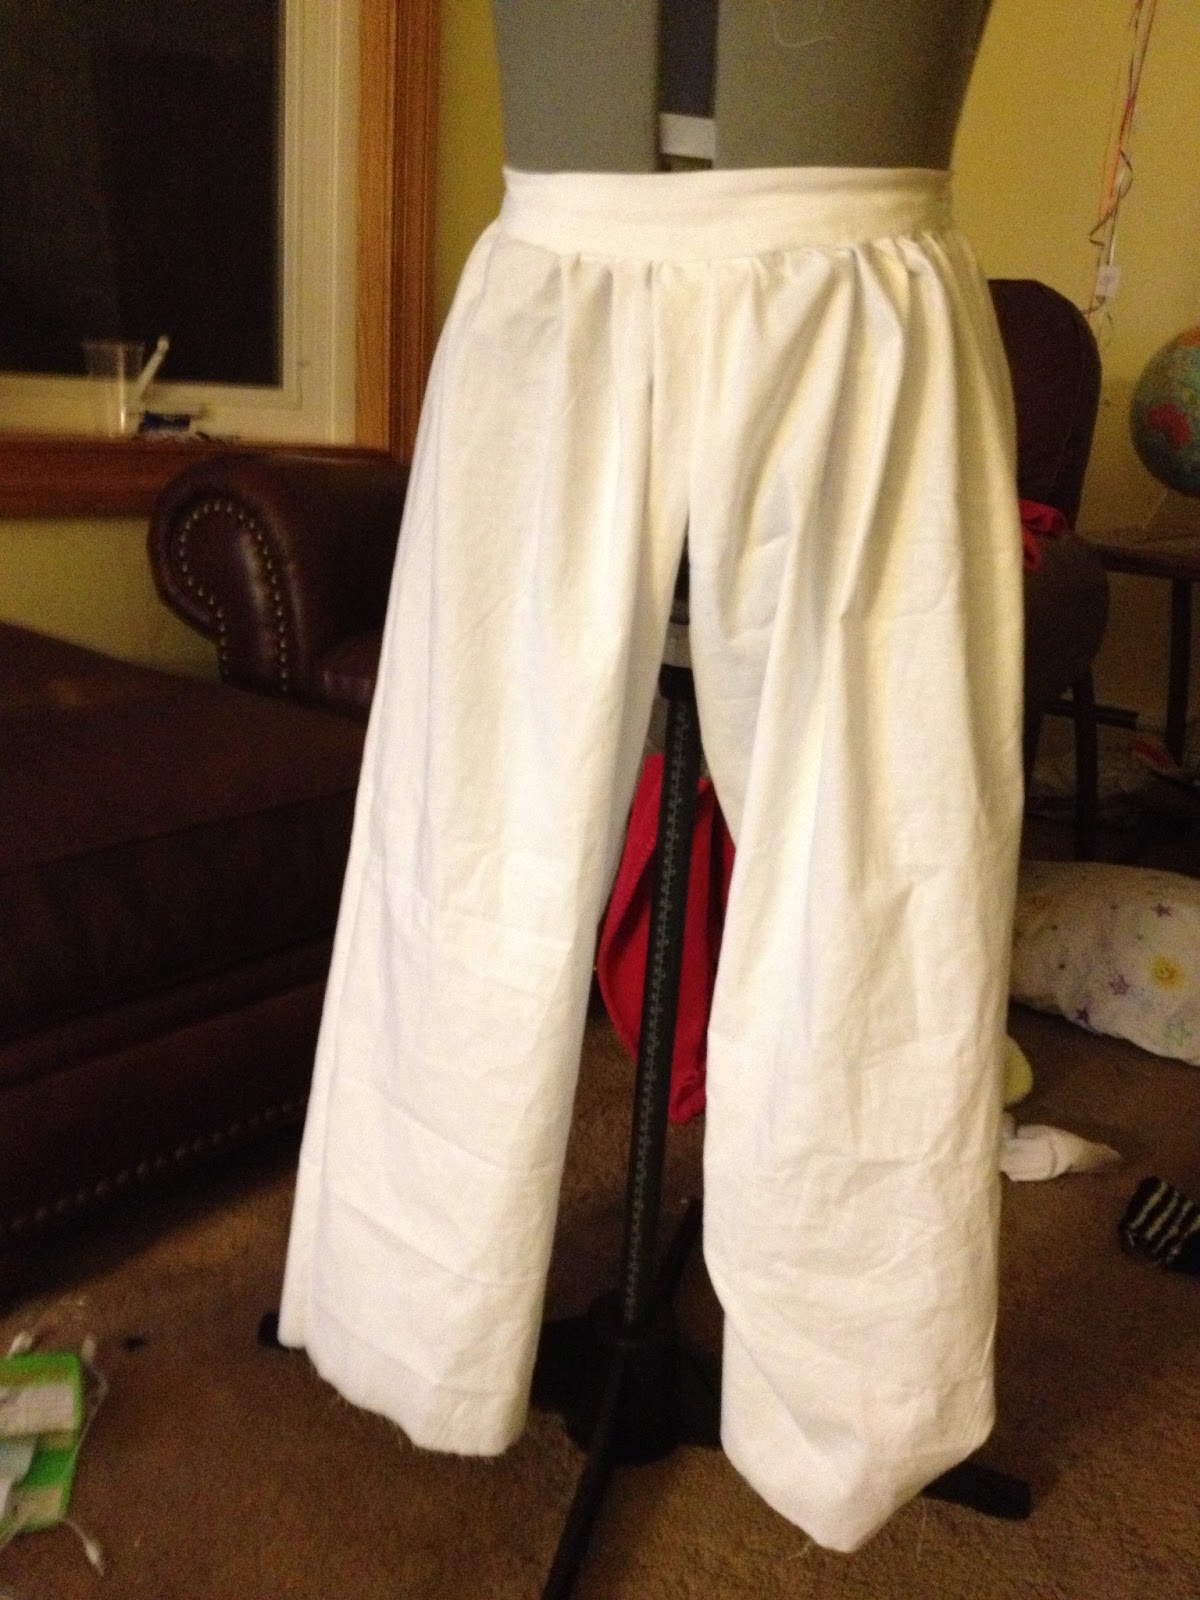
The Drawers. 

The Drawers are from the trusty ole Simplicity 9769. They(Like most of the underthings) are made from white cotton broadcloth purchased from Fabric.com. The Pattern is easy to follow and there's only a few pieces- but the leg pieces are HE-UGE! All that's left to do is trim the bottom of the legs  with some eyelet lace and the white eyelet beading/black ribbon.

Chemise

Okay, thought I had some pictures of the actual chemise but I guess I was wrong. I'll post them as soon as I take some. 

So, I had decided to make this style chemise back when I thought I was doing the Marceline dress, so it's cut more for a civil war evening gown. I used the out of print Simplicity 5729.  


Now, let me explain something here. I am a pack-rat. Bordering on hoarder status. I get anxiety from cutting up patterns that are still readily available. But cutting out the pieces on an OOP pattern? Well, it kinda went like this...


The pattern is pretty simple except for the neckline. It was a bit fiddly, but I'll just chalk that up to my own stupidity. 
Unfortunately, I will probably end up making another one with sleeves and fancy laces. I'll try to recycle parts from this one and if I really can't save it, I'll just use it as a nightgown or bathing suit cover.(See that pack-rat-I-can't-throw-anything-away-thing I did there?)

 Bustle

Oh, my God. OOOOH, MYYYYY GOOOOOD. THIS THING IS THE GREATEST THING EVER!

Truly Victorian TV101 Wire Bustle. It took a bit of pounding my head into the instruction booklet in hopes of preforming some kind of knowledge osmosis, but again, that's because of my own direction-following difficulties. A person with a normal working brain should have A LOT less trouble.  


I purchased the bones from the TV website. They are sturdy and have managed to withstand a constant state of the bustle being tied. I don't recommend it- the bones being tied 24/7, that is- but the pattern allows for them to be removed and replaced, so it's all good. I have yet to make the ruffle overlay at the moment and I may replace the hook and eye front closure with a drawstring of some kind. Other than that, the bustle is pretty much complete. Which brings us to...

UGH. The Corset. 


As you can guess from the lovely intro, the corset didn't go as planned.
It was all set up perfectly, I was going to use the simply marvelous black on white vine printed cotton I've been itching to use on something, All the other fabric I had already in storage and all I needed to do was buy the kit from Corsetmaking.com.

But THAT should have been the giveaway.

Things were fine at first. I finished the corset and wore it under my clothing for a few days. To get a feel for how it fit and how to move, sit, and work in it. I had read some reviews online about how the hips of this pattern were too tight and how people needed to at big ol' hip gores for it to fit. I thought I was lucky because the hips were as comfortable as could be, which is unusual due to my wide hip bones.

Me, showing off my fancy new corset! 

But then I realized that I had made the pattern too big. Commercial patterns have this issue were they give accurate proportioned measurements, but put them under the wrong number. So what was a size 16, should have been a 14 bust and waist with 16 hips. 


The corset was super loose around the bust- again, strange given by rather large bosoms.


So, I thought I could fix everything with the historically inaccurate use of SAFETY PINS.


But alas, It wasn't meant to be. The blasted thing kept riding up and eventually it began to hurt my lower back. Never understood why. I will have to make another one. I'm going for the Laughing Moon Dore Corset that's so popular around these parts.
The laces- completely closed- telling me my
corset is too big.

And so, with all this out of the way, I can continue making the lovely Rarity Dress and future Victorian Garb.  Anyone else working on various underthings and unmentionable from throughout time? What's your favorite era to make underclothing for?


Saturday, February 2, 2013

A Change of Plans.


Now, I've been working on the corset- which is just a bias-taping away from being finished, by the way- I find myself unable to focus on Marceline's 1860's ball gown. Everywhere I looked, another era kept smacking me in the face... with their giant bustles!


Big ol' bustle!

I friggin' love bustles! More specifically, early Bustle Era bustles. I don't know why, they're just awesome! 


I have a mighty WANT. 

And about a year or so ago, I had a great idea for a bustle dress. Using the same pattern and template as the dress I wore to AnimeNext last year. Only, instead of death black on death black on black and white stripes, it was going to me a color scheme of white, purple, and blue.


That's right! In honor of everypony'sbody's favorite fashion designer  I had planned to make an outfit with a purple bustle peaking out from under a white tailed overcoat and a pale blue bustier with shiny rhinestone buttons.

I wanted to make it in time for BronyCon, but alas, it was only one month away and I wasn't feeling like half-assing such an awesome idea and wore the original dress to the convention instead.

And I am glad I made that decision, for now I can make such a dress and make it even better than imagined! It will be worn this June to AnimeNext in place of the ball gown.

Unfortunately, this means I'm putting Marceline's Sort of. I'll still work and report on it, but Rarity's dress will have priority over all else.

Have you ever stopped mid-project to start another? How did both turn out?


Saturday, January 19, 2013

Updates on Marceline's Gown and upcoming events!


Oh my, bloggy-woggy. I've missed you!

Yes, I haven't been updating for a while now, but I actually have an excuse...


That's right! I've begun my career as a historical
costumer by making historically incorrect corsets.
 I used the Simplicity 9769 Civil War undergarments pattern. I was going to use the Laughing Moon corset pattern, but I decided that for my first wack at one, I should use a pattern with super duper easy instructions, and modified it a little bit to fit a lining and a canvas interfacing. Cross your fingers that it works out! 
Big ol' bows

This unfortunate thing will be going under my Marceline's Mushroom Civil War Ball Gown which will be worn this June at AnimeNext in Somerset, NJ. Speaking of which, here is my design:

I'm going to be using Truly Victorian's infamous 1860s Ball Gown Bodice with a fur bertha and the 1860s Ball Gown Skirt, which will have a black over skirt and purple striped underskirt. Just like Marcy's stockings! The skirt will be worn over the cage crinoline.

Back to the corset! I ordered CorsetMaking.com's pre-assembled kit for the pattern. It came with spiral steel bones, the busk, the bone casings, grommets, etc., etc,. With my lack of experience, I had no idea how flimsy spiral steel bones were. The Girls need more support than that, so I reordered the bones in good ol' fashion white steel.


More updates and another fun-filled project idea in the near future. Stay tuned!

Wednesday, December 19, 2012

Back From Texas, Back to Work.

I dub thee...The Two Face Dress!

Back from the land of large hats and even larger steaks. I'll post pictures of The Phillip and the various ceremonies soon, once I get permission from him to post his pictures all up in this biz. But, until then I have info on the dress I named The Two Face. Why have I named it so?


You can't see it from the full picture, but because it slipped my mind that corduroy is a two-way fabric, the different halves (quarters, depending on the view) are different shades of black.

Now, the rest of the dress is different from what was shown on the pattern packet.


 The neckline is a lot bigger than what the picture led me to believe. So my cute little Peter Pan collar just looked ridiculous and the dress wasn't as fitted as I thought it would be despite the crazy amount of darting I did. So I ended up looking really...box-y.

How I mark my darts....


Ball-headed pins where the pattern says to make dots.

Flip the fabric over with the pins still in it. 
WARNING: The pins WILL stab you no matter how careful you are!

Using a marking tool, mark the fabric at the base of the pins


Pull the pins out and 'darken' your dots.


Connect said dots! Make sure you do the above steps on a flat surface 
like a table or a floor...or your little sister's science binder....


Pin, then sew on the lines then voilĂ , she is a-done! I'll have to take it apart and add more darts to fit it better but moving on...


I will be the first to say that I am no good with blouses. I always think I'm doing wonderful as I'm working on in but then I see the finished project and it looks as if I was blindfolded the entire time I was sewing. This blouse is one of my better ones, but it still is with it's flaws.


I must have set the collar wrong because it didn't lay correctly and kept popping, but only on one side...The jumper did a bit to hide it though.


Yea...don't ask because I have no idea...

Gonna try and selvage this one and wear it again, maybe with some era appropriate accessories. Not the blouse though...that thing will just sit in the back of my closet and haunt me for the rest of my days....-shudder shudder-

Monday, December 3, 2012

And Now For Something Completely Different: 50s Inspired Outfit and Talk About Texas.


Due to a recent and unforeseen draining of the wallet, The ATPP is on hold for the most part until the next paycheck. But for the time being I will be showing off a project that I'm making for class.

Now, I have a habit of using assigned projects as excuses to make super extravagant outfits. This usually results in both a poor grade and a poor quality outfit. But I made a grown up decision and am not making the Marceline gown for class. Instead I'm making a kind of 50s jumper and blouse ensemble.

I'm using Simplicity 3673 and Butterick 5711 in a black corduroy and white, vine-printed calico respectively.

I hope to get this done by the 12th of December as I plan on wearing it to a special event in Texas. No, It's not a costuming event, The Phillip is graduating from Air Force Basic Training!

For those who don't know(which is none of you because, at this point, if you are reading this blog you know me personally) The Phillip is my boyfriend of four years. He went into AFBT in September and after an injury, is finally graduating on the 14th.


There may be small updates on The ATP dresses e.g. Fabric/Patterns arriving, new design idea, new princess, etc., etc.. But for now, 50S DRESS GO.