Showing posts with label 19th Century. Show all posts

Monday, December 23, 2013

Commission - Purple Bustle Dress


So. Yes. It has been a very long time since my last post. Six months almost, but who's counting aside from all of you? 

I could sit here and start rattling off excuses for why I've been unable to post, so I will: I was commissioned by a friend to make a Victorian ensemble. A purple and pink ensemble based off the famous purple and pink reception dress by Worth. 

Charles Frederick Worth, Reception dress c. 1874.

Now, I say 'based off of' because the patterns and style was decided first, then I showed her a photo of this dress and she fell in love with the color scheme. The patterns for the dress were the trusty ol' Truly Victorian TV405, TV305, TV201.

I wasn't around when these photos were taken otherwise
I would have fixed that apron.


Some detail shots. Holly is still too big n' busty to fit
period clothing. I promise the dress fit the client. 
This is my second time working with the Vest Basque and I didn't cut any corners this time. I actually finished the arm holes and put boning in the seams. I also added some buttons on the back and the cuffs because I kept loosing the buttons and running out to buy more. The nice people at my local Joann's must hate me.  The skirt has two long ruffles at the bottom and the seam of the top ruffle is covered by purple bias tape. The underskirt pattern is ridiculously easy and quick aside from the butt-pleating which took a good evening.


The apron over-skirt, however, takes a few re-reads of the instructions to get how to add the closure(the hemming and bustling was a bit fiddly but that may be do the fact that I was using the smallest size.) Its some kind type of contraption reminiscent of a modesty panel in a modern day corset. The idea is to not have a gap between the front and back pieces of the apron, so this piece of fabric extends from the bottom of one to the bottom of the other and is attached by buttons, hooks and eyes, skirt hooks, or even snaps or Velcro for quick costume changes.

Unfortunately, the panel didn't cover the closure of the waistband itself. So using the same concept, I rigged up a small band with a skirt hook and it ended up working wonderfully.


She also had me make her a full set of Victorian undergarments to wear under the dress. A nice red taffeta corset made from the Silverado Bust Gore pattern and the Truly Victorian Grand Bustle, Simplicity 9769 chemise and drawers all made from muslin.

Ignore the horror movie lighting

Tried making some nice pin tucks. I think they turned out alright 

HOLLY STRIKES AGAIN! 


I haven't made this chemise or bustle before and they were both pretty easy. The instructions on the bustle confused my tiny brain for a while because of the fact that is isn't bustled by tied ribbons like the TV101, it has a piece of fabric acting in place of ties so I'm not really sure if it can be stored flat like the other one. And adding the ruffles while trying to keep from blocking the boning channels was pretty tricky, but I'll definitely be making one of these for myself in the future. Same with the chemise. It's more a Civil War era but I feel it can work for more styles in the Victorian era.


And so yea, that's what I've been busy with....for the past 5 months...so quit hasslin' me.


I'm just kidding. Keep hasslin' me. In fact, go hassle me at The Dowager Dame Facebook page. That'll teach me to keep everyone waiting.

Saturday, May 25, 2013

Update on Lady Rarity's Dress. [Image Heavy]


So aside from a small ruffle that needs to be added to the hem(Shhh! Don't tell my teacher, she thinks it's 100% done!), The Lady Rarity Dress is complete. And with a week and a half to spare!

Or rather, a week and a half to freak out and panic because the accessories aren't done.

Yup. That's about right.

Here's the dress on Holly, My Slightly-Bigger-Than-Me-Because-No-One-Wants-To-Make-A-Dress-Form-In-My-Size-So-All-My-Outfits-Look-Too-Small dress form.


Friday, May 17, 2013

American Duchess Tavistock Unboxing and Review.


With the making of a new costume comes the excuse to buy myself things. Well, not that you need an excuse to buy yourself a new pair of shoes. Amiright, ladies? ; )

Monday, April 29, 2013

Crisis Avoided or Why You Should Always Read Directions.


So coming back from weeks of slaving away in front of both the sewing machine at work and the sewing machine at home( My boss affectionately refers to me as "an old sew-and-sew.") I am finding time to blog. FINALLY. I swear, I'm gonna get better at this.

And with my brand new Singer 9960 Quantum Machine, I am continuing with the Lady Rarity Dress.

LOOK AT HOW AWESOME IT IS!
The ruffler foot even works on it! 

The Equine fashionista herself!
I'm using Truly Victorian Patterns 1872 Vest Basque and 1875 Parisian Trained Skirt. In white and royal purple cotton/silk poplin bought from Fabric.com. 

The train and bustle on the on the skirt and the cuffs and collar on the top are in the purple to
'simulate' Rarity's mane and tail. The front apron on the skirt is white as are the sleeves and main body of the bodice. The faux vest at the front will be a light blue silk. I ordered a yard of a few different ones from puresilks.us, so I still don't know which one yet.

An armscye is the armhole- where the
sleeve connects to the bodice.
Now, where is this would-be crisis I lured you here with? I'm not alone in the sewing world when it comes to issues with armscyes. They are either too big, causing unsightly bunching and gathering; or they are too small, preventing you from moving your arms. With the mock up I made of the vest basque, the armscye was so constricting that it was painful to hole my arms out in front of me. At first I thought it was due to me trying it on without my corset and proper undergarments, but even when I was all decked out, my underarm and shoulder suffered.

I reluctantly decided that I needed to manually enlarge the armscye on the pattern. Then, something in the back of my head told me I needed to re-read the directions and I found this:

"Choose Front, Vest, and Collar pattern piece that correlates to your Adjusted Front."
This could have ended very badly.

All I needed to do was a bit of math, and I figured out that the size I needed was two-parts one-size and one-part a-size-larger. The actual bodice turned out perfect!

The moral of this story: READ THE DIRECTIONS ONCE, TWICE, THREE TIMES! It may seem like a waste of time, but your beautiful outfit will thank you!

Here is some more pictures of how the dress is going so far!


Wednesday, April 10, 2013

Doing Things The Hard Way...


      I know the three people who follow this blog have been wondering where I've been. Well, I've been busy....

      A perfect storm of Things-Just-Not-Working have set me back a bit. I am trimming the Lady Rarity dress with purple ruffles at the hems and seams. The ruffles at the hems are to themselves be hemmed on the top and bottom edge and the ruffles at the seams would simply be gathered and sewn in.

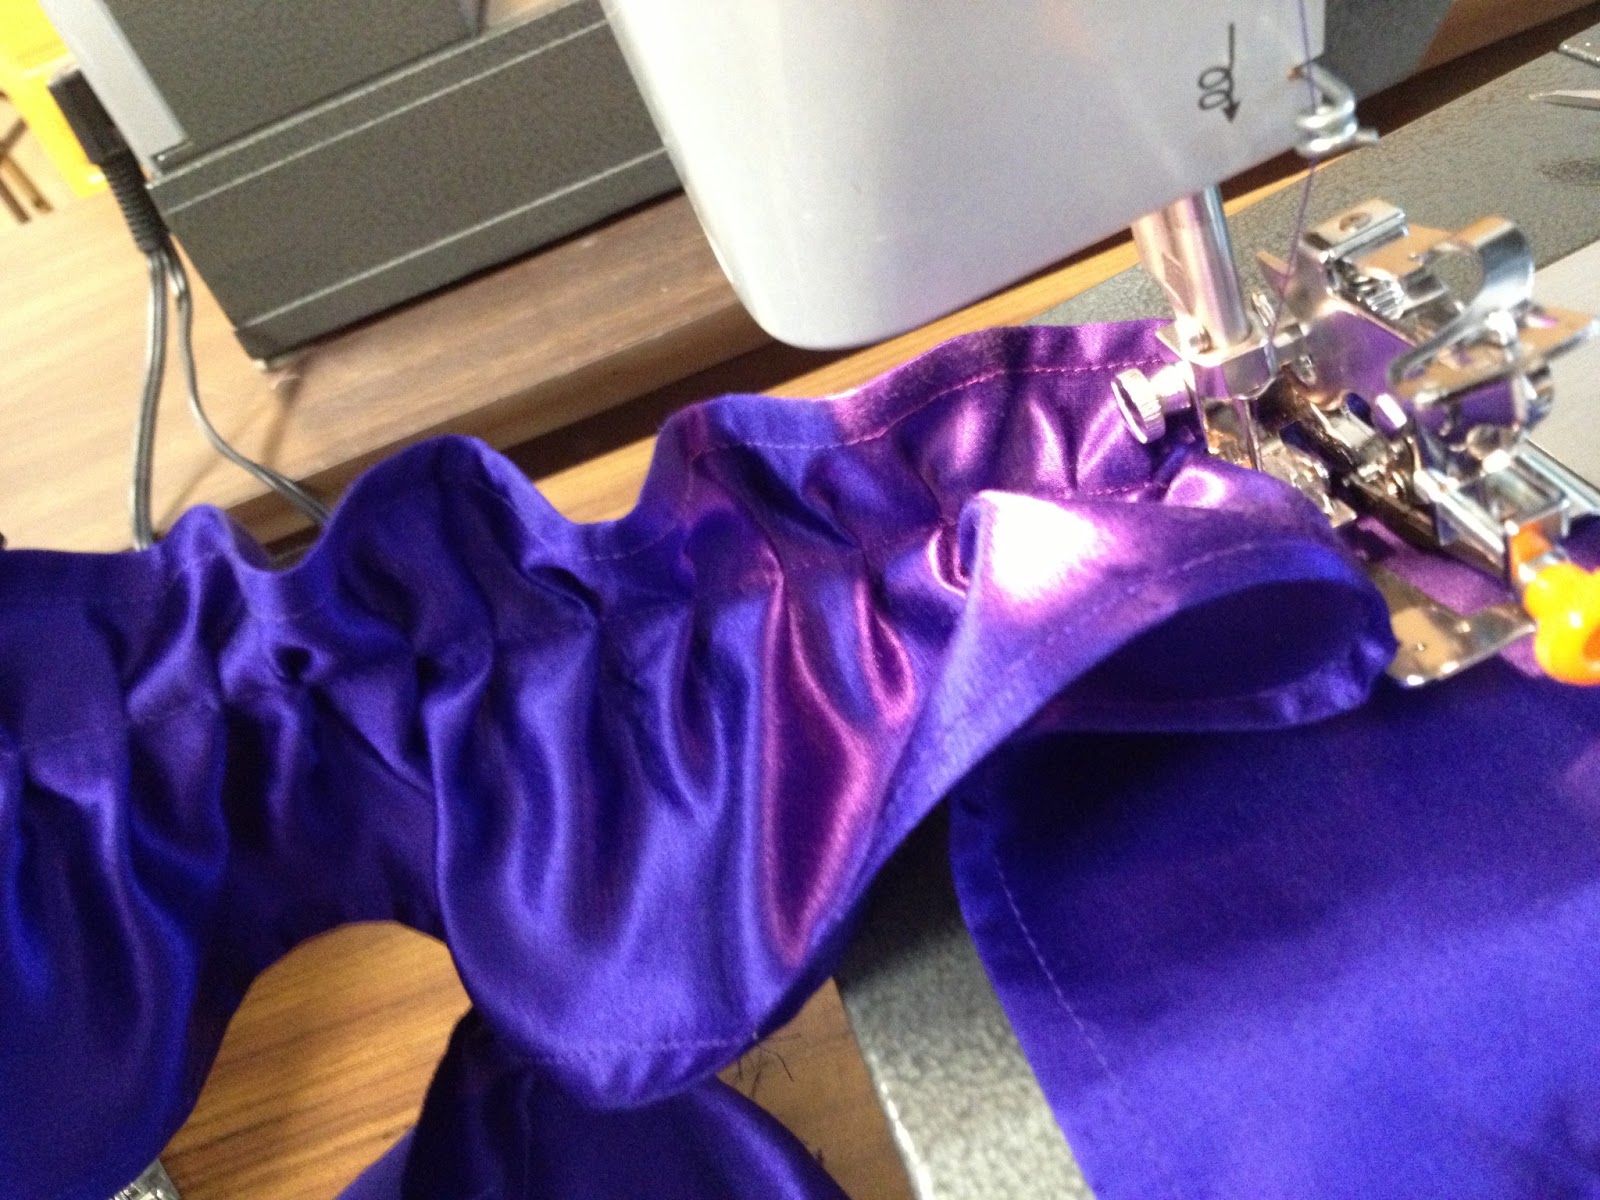
      I had planned to use my handy-dandy narrow hem presser foot to do this quickly as I've heard wonderful things about it, but alas, I seem to have ordered the union worker of the bunch.... 
Working it's horror on some poor
unsuspecting scrap fabric...

      And by that I mean: This thing wants to work on ITS OWN terms and if you violate that, it will set out to destroy you and everything you have ever planned to accomplish.


      So, I am forced to hem 1/4" on both long edges by hand...


      All 2+ yards of it...


    Yea, remember when I said I've been busy?


It's at least two yards...
      It took me all weekend and then, when I thought I was finally done with this batch(because I still need to do a whole lot more...) I found that my ruffler foot attachment doesn't want to work on my machine anymore. So, several hours of troubleshooting and broken needles later I decided that I'll give it a try at the machines at school. 


      It worked. Sort of.

      The machine kept sputtering and skipping pleats and I wasn't able to finish at least half of the super long ribbon before class ended.


At the moment, I'll continue to fiddle with it and I'll try it out on one more machine before I quit the ruffler foot and gather the old fashion way; Two long stitches and a whole lot of time.


Have any of your sewing projects been halted, postponed or slowed down by technology conspiring against the seamstress?


Humina, humina- What's this? A Dowager Dame, Lady Monroe Facebook page? I know there's a few people who read this page- I know you're out there! I can see the pageviews! YOU CAN'T HIDE FOREVER!- So why not head on down there and drop us a like and a comment?

Wednesday, March 13, 2013

Corset and Undies.

Okay, Jack, you are gonna sit down a blog, dang-it!

Well, It's March now and I met my deadline of finishing all of my Victorian undergarments by the end of February. Well sort of. All the main construction is done on most of them and really all they need are things like trims or fasteners.

The Drawers. 

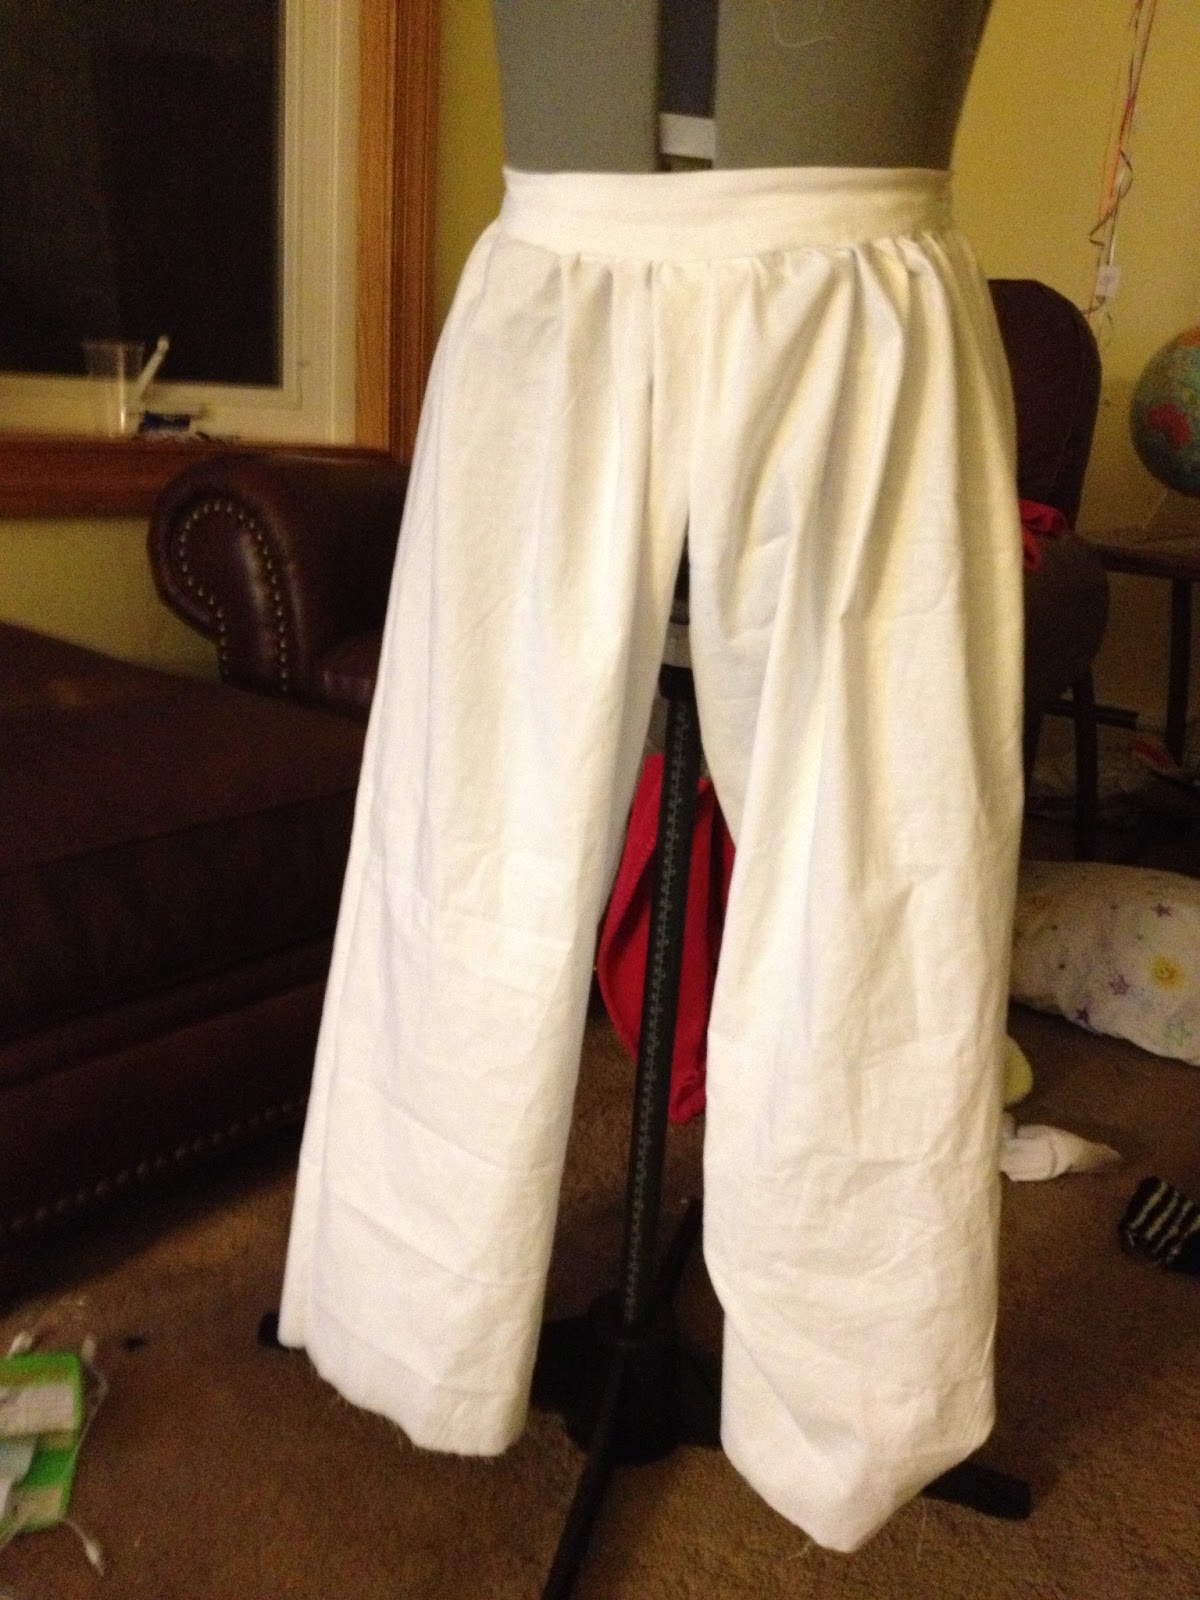
The Drawers are from the trusty ole Simplicity 9769. They(Like most of the underthings) are made from white cotton broadcloth purchased from Fabric.com. The Pattern is easy to follow and there's only a few pieces- but the leg pieces are HE-UGE! All that's left to do is trim the bottom of the legs  with some eyelet lace and the white eyelet beading/black ribbon.

Chemise

Okay, thought I had some pictures of the actual chemise but I guess I was wrong. I'll post them as soon as I take some. 

So, I had decided to make this style chemise back when I thought I was doing the Marceline dress, so it's cut more for a civil war evening gown. I used the out of print Simplicity 5729.  


Now, let me explain something here. I am a pack-rat. Bordering on hoarder status. I get anxiety from cutting up patterns that are still readily available. But cutting out the pieces on an OOP pattern? Well, it kinda went like this...


The pattern is pretty simple except for the neckline. It was a bit fiddly, but I'll just chalk that up to my own stupidity. 
Unfortunately, I will probably end up making another one with sleeves and fancy laces. I'll try to recycle parts from this one and if I really can't save it, I'll just use it as a nightgown or bathing suit cover.(See that pack-rat-I-can't-throw-anything-away-thing I did there?)

 Bustle

Oh, my God. OOOOH, MYYYYY GOOOOOD. THIS THING IS THE GREATEST THING EVER!

Truly Victorian TV101 Wire Bustle. It took a bit of pounding my head into the instruction booklet in hopes of preforming some kind of knowledge osmosis, but again, that's because of my own direction-following difficulties. A person with a normal working brain should have A LOT less trouble.  


I purchased the bones from the TV website. They are sturdy and have managed to withstand a constant state of the bustle being tied. I don't recommend it- the bones being tied 24/7, that is- but the pattern allows for them to be removed and replaced, so it's all good. I have yet to make the ruffle overlay at the moment and I may replace the hook and eye front closure with a drawstring of some kind. Other than that, the bustle is pretty much complete. Which brings us to...

UGH. The Corset. 


As you can guess from the lovely intro, the corset didn't go as planned.
It was all set up perfectly, I was going to use the simply marvelous black on white vine printed cotton I've been itching to use on something, All the other fabric I had already in storage and all I needed to do was buy the kit from Corsetmaking.com.

But THAT should have been the giveaway.

Things were fine at first. I finished the corset and wore it under my clothing for a few days. To get a feel for how it fit and how to move, sit, and work in it. I had read some reviews online about how the hips of this pattern were too tight and how people needed to at big ol' hip gores for it to fit. I thought I was lucky because the hips were as comfortable as could be, which is unusual due to my wide hip bones.

Me, showing off my fancy new corset! 

But then I realized that I had made the pattern too big. Commercial patterns have this issue were they give accurate proportioned measurements, but put them under the wrong number. So what was a size 16, should have been a 14 bust and waist with 16 hips. 


The corset was super loose around the bust- again, strange given by rather large bosoms.


So, I thought I could fix everything with the historically inaccurate use of SAFETY PINS.


But alas, It wasn't meant to be. The blasted thing kept riding up and eventually it began to hurt my lower back. Never understood why. I will have to make another one. I'm going for the Laughing Moon Dore Corset that's so popular around these parts.
The laces- completely closed- telling me my
corset is too big.

And so, with all this out of the way, I can continue making the lovely Rarity Dress and future Victorian Garb.  Anyone else working on various underthings and unmentionable from throughout time? What's your favorite era to make underclothing for?


Saturday, February 2, 2013

A Change of Plans.


Now, I've been working on the corset- which is just a bias-taping away from being finished, by the way- I find myself unable to focus on Marceline's 1860's ball gown. Everywhere I looked, another era kept smacking me in the face... with their giant bustles!


Big ol' bustle!

I friggin' love bustles! More specifically, early Bustle Era bustles. I don't know why, they're just awesome! 


I have a mighty WANT. 

And about a year or so ago, I had a great idea for a bustle dress. Using the same pattern and template as the dress I wore to AnimeNext last year. Only, instead of death black on death black on black and white stripes, it was going to me a color scheme of white, purple, and blue.


That's right! In honor of everypony'sbody's favorite fashion designer  I had planned to make an outfit with a purple bustle peaking out from under a white tailed overcoat and a pale blue bustier with shiny rhinestone buttons.

I wanted to make it in time for BronyCon, but alas, it was only one month away and I wasn't feeling like half-assing such an awesome idea and wore the original dress to the convention instead.

And I am glad I made that decision, for now I can make such a dress and make it even better than imagined! It will be worn this June to AnimeNext in place of the ball gown.

Unfortunately, this means I'm putting Marceline's Sort of. I'll still work and report on it, but Rarity's dress will have priority over all else.

Have you ever stopped mid-project to start another? How did both turn out?


Saturday, January 19, 2013

Updates on Marceline's Gown and upcoming events!


Oh my, bloggy-woggy. I've missed you!

Yes, I haven't been updating for a while now, but I actually have an excuse...


That's right! I've begun my career as a historical
costumer by making historically incorrect corsets.
 I used the Simplicity 9769 Civil War undergarments pattern. I was going to use the Laughing Moon corset pattern, but I decided that for my first wack at one, I should use a pattern with super duper easy instructions, and modified it a little bit to fit a lining and a canvas interfacing. Cross your fingers that it works out! 
Big ol' bows

This unfortunate thing will be going under my Marceline's Mushroom Civil War Ball Gown which will be worn this June at AnimeNext in Somerset, NJ. Speaking of which, here is my design:

I'm going to be using Truly Victorian's infamous 1860s Ball Gown Bodice with a fur bertha and the 1860s Ball Gown Skirt, which will have a black over skirt and purple striped underskirt. Just like Marcy's stockings! The skirt will be worn over the cage crinoline.

Back to the corset! I ordered CorsetMaking.com's pre-assembled kit for the pattern. It came with spiral steel bones, the busk, the bone casings, grommets, etc., etc,. With my lack of experience, I had no idea how flimsy spiral steel bones were. The Girls need more support than that, so I reordered the bones in good ol' fashion white steel.


More updates and another fun-filled project idea in the near future. Stay tuned!

Monday, November 26, 2012

Getting Started From the Inside Out.

Ask any costumer and they will say you can't have a proper shape
without the proper undergarments.
Before any sewing and fabulous dress making can commence, we must start with the basics: UNDIES!

18th Century Stays...or so the pattern
packet says


Regency short stays
Victorian corset. Reviews say this pattern is
good for throughout the era.


Post-Edwardian corset.


The pictures are just of corsets/stays but I'm talking EVERYTHING. Chemises, hoop skirts, panniers, etc, etc.

 I'm starting with, what I call, The Big Four. Flame Princess, Princess Bubblegum, Marceline and Lumpy Space Princess, respectively.

I want to do some hand sewing in the project just for fun but I wasn't sure how much I should do. So, my cut-off year is 1856. Everything set before that year is going to be hand sewed 100%(if possible) and everything after that will be machine sewed. I.M. Singer & Co. started mass-producing sewing machines at that time so that's my excuse and I'm sticking to it and if you don't like than too bad.

So, of The Big Four, we got an even half and half; a giant dress and small dress to hand sew and a giant dress and small dress to machine sew. The patterns are coming from all over the place- Internet, commercial patterns, drafted from books- So each costume is going to be a mish-mash of designs from everywhere. Again if you don't like that, too bad.
I'll be posting what patterns and materials I'm using -along with links to where to get them- soon. So stay tuned!

Tuesday, November 20, 2012

Adventure Time Princesses Cosplays...With a Twist! [Image Heavy]

So Many Princesses!
Art By Moontown0125 at deviantart.
Oh yes, I wasn't kidding when I said cosplay was going to be included in this! But if there's one thing I love more than leaving Playboy magazines on the coffee table when guests are over to make them feel uncomfortable, it's making simple things needlessly complicated.

And while I will eventually get around to making all of Shoomlah's Disney Princess dresses, I decided to do something a little bit differently...but just a little.

Indeed, Historical Adventure Time Princesses, each in their own time and place. So, in no particular order, my brainstorming:

Princess Bubblegum - Regency - 1810


PB is really the inspiration for this whole project. I noticed that her default dress isn't what most would call a 'princess dress.' It doesn't have a big puffy skirt and and giant crown. It's very simple. "Almost like a regency dress." I thought and DING DING DING, the idea was born.

But I digress.


Left: Dress worn to the wedding of Napoleon Bonaparte and Marie-Louise, 1810
Right: Evening gown plate, 1810
Now, this project will obviously be less about correct colors, but I am not prepared to make a hot pink regency ball gown, I'm thinking soft and pale pinks with violet and gold trims and embroidery. I want the gown to have the long train of the gown on the left, but have that train be the net overlay of the gown on the right. I'll incorporate her crown (and earrings, too. Why not?) into some kind of jewelry or accessory on a turban or bandeau. 

Marceline - Victorian - 1860

Marcy's normal clothes were just too plain,
so her why-wolf dress will be transformed, instead. 

Of course, this dress is going to get 120% of my attention due to:

1) Marceline being my favorite character
and
B) The Victorian Era being the time everyone says I should have been born in.

I thought I was going to be putting her in a bustled evening gown, but I felt that the bodices wouldn't allow the fur at the top to pop as much as it should. So I went back a few years to the 1860s and decided an entire fur bertha would be adequate.

Left: 1860s ball gown. Note THE GIANT TRAIN.
Right: French ball gown, 1860-1861
Black satin with red ribbon on the bodice(I've noticed all of Marceline's outfits include something red. I guess it's the vampire equivalent to trail mix.) and bows on the skirt in a pale purple/even paler purple striped pattern. The skirt may include a layered petticoat effect like in the gown on the left.

I was considering making her jewelry have an apple motif, but after the latest episode with her and the Ice King, I may switch it over to a diamond or pale blue crystal in honor of her once good friend. -sniffle-


Flame Princess - Georgian - 1770~?


Flame Princess' designs jumped around a bit. She was going to be in a Tudor gown, then an Elizabethian, I even played with the idea of putting her in a Cranach gown and carrying around Finn's head. So, FP's dress was one of the last few to be decided. I stepped back and took a good look at Flame Princess and her story. The main point around her being that everyone thinks she's evil yet, really she's just young and naive. Much like another monarch we all know.

Plus, look at that hair, she's gotta be put in a French court dress. 


Not sure were this picture is from as I saved it forever ago.
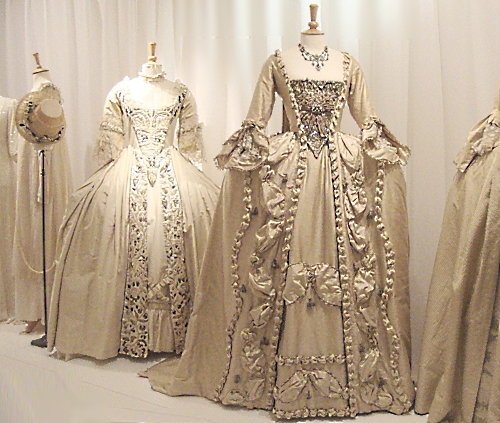
File says "18th century wedding dresses."
Using a movie costume as reference and inspiration. -gasp-
I may have lost my costuming cred before I even got it.
Screen from: Marie Antoinette(2006)
A red taffeta petticoat under a dark orange coat in a robe a la francaise style. With the giant pocket panniers, of course. In place of the usual bows down the stomacher, the big red gems getting smaller as they go. Red and dark gold metallic trims. The trademark giant hair of the 18th century will be red, orange and decorated with the same trim and gems as the dress.

Lady Rainicorn - Joseon Dynasty/Modern Day - Hanbok
My original idea for Lady was going to be a Heian Era junihitoe from Japan with every coast being a different color.

Heian Era jÅ«nihitoe with very colorful layers.
But I scrapped that in favor of the more commonly known Korean hanbok...ya know, for obvious reasons.

A modern day hanbok. I say modern day because my
research has led me to believe that they did not
always look like this. 
I think this is the only dress that I will make but won't cosplay in -Oh yea, did I forget to mention that I was going to go out and about with all of these dresses and accessories at one point?- I never really got into the Asian clothing that most people do at cons. It may be because my first costume experience was with a cosplay based of the very Heian costume I avoided earlier. But, that's another story for another time. 

 Ice Queen - Tudor/Elizabethian

Evil step-sisters?
Natasha Allegri said that she had designed Ice Queen's dress to look like Anastasia and Drizella from Cinderella. My design is going to look like Queen Lizzie or Queen Anne. Not sure who yet. Mayhaps both?

This is the part were the project kinda fails a bit. I'm not good a looking at portraits and going 'I know exactly what that would look like in person!' Doubly so for portraits of Elizabeth I(not so much for her mother though). So, for things like this I usually go with movies set in that era. 

Dresses from Elizabeth and Elizabeth 2: The Golden Age
Dresses from The Other Boleyn Girl
More dresses from the other Boleyn Girl. All a similar style. 
This dress may end up being a mixture of both styles as there are parts of both styles I like and parts of both that I don't. For example: For the Tudor style, I'm not a real fan of the French hood. I CANNOT STAND FRENCH HOODS THEY FILL ME WITH RAGE.  Don't know why. They just look really silly. It's hard to look all regal n' junk when you have what looks like a cardboard box on your head. But then again I also think that velvet looks costume-ish so maybe I'm just dumb.

Doctor Princess - WWII Nurse


"Whoa nelly! Something...medical is happening!"
I know, I know, The Doctor isn't a real princess, but who can say no to that face? Plus, it fits perfectly. I'm even gonna include a mini Scientific Parasite! I may even make a variation for SCIENCE WIZARD.
Various WWII uniforms
Lumpy Space Princess - Post-Edwardian - 1912 

Oh, My Glob!
Yea no, I'm serious. I wanted to fit LSP somewhere in here. The Edwardian and Post-Edwardian eras' silhouettes are all about the lumps! Varying shades of purple in varying layers of sheer and opaque fabric with gold, star-themed trimmings. The jewelry and accessories will all be light shades of blue to match her beloved can of beans.

Left: Two of Queen Maud of Norway's gowns. 1910-1913
Center: Evening gown. 1912. FIDM
Right top and bottom: Evening gowns. 1912


Well, that's all the princesses I have ideas for at the moment. More are sure to come of the princesses already there and the princesses that have yet to be introduced. But for the time being. The project has now officially...wait for it...stalling tactic...BEGUN.